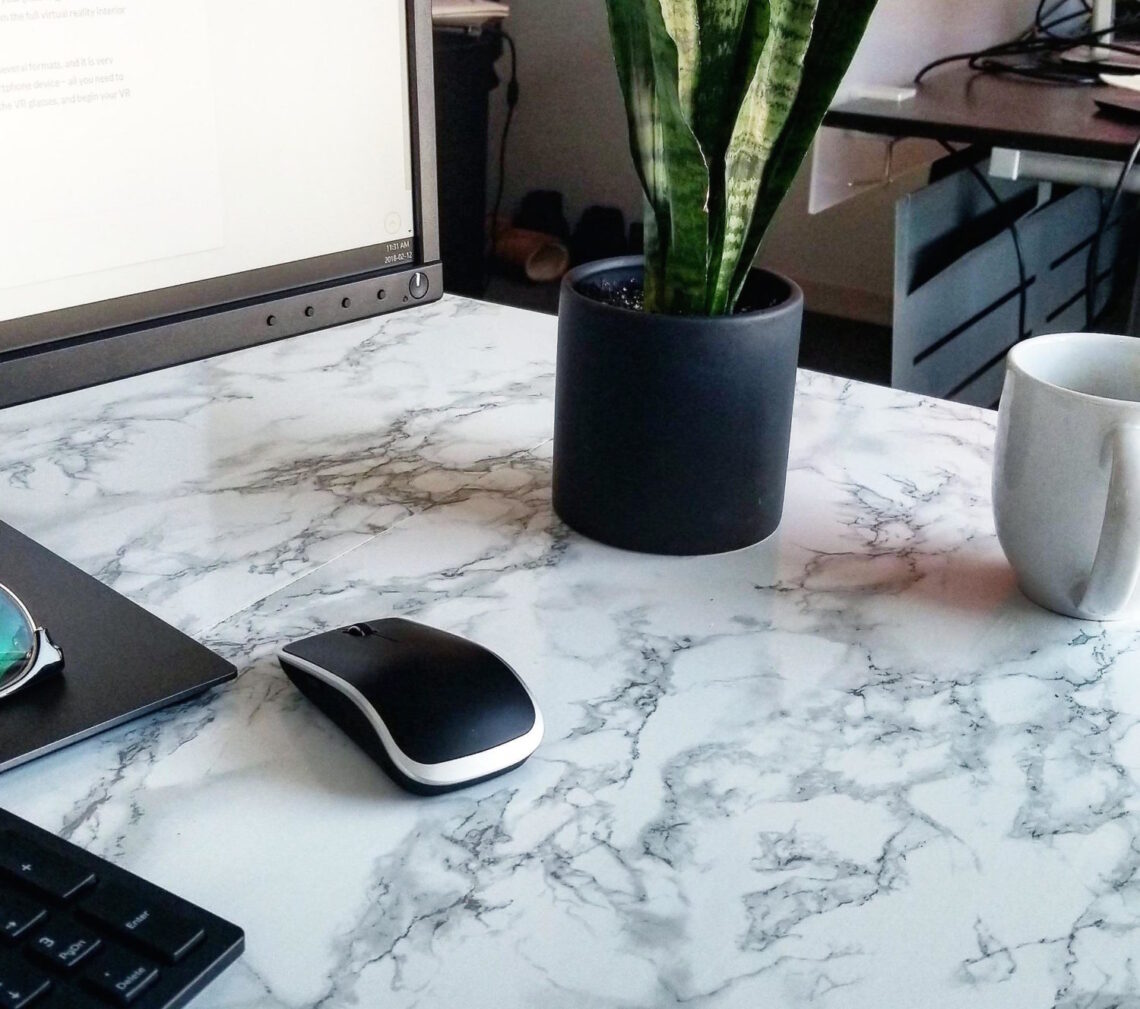
Desk Makeover with Marble Contact Paper
You’ve probably heard of marble contact paper before and have seen images of table transformations on Pinterest. But the question is, is it really as great as it’s hyped up to be? How can marble contact paper look like the real deal?
In any case, I had seen enough images and videos to finally give it a go. But marble doesn’t really match the decor in my home, so I decided to try it out on my desk at work.
I know it seems weird to try to spruce up a desk that doesn’t technically belong to you, but I spend most of my waking hours at work, so why not? Instead of staring at a boring, brown desk all day, I get to enjoy my beautiful (faux) marble one!
You don’t necessarily have to use marble contact paper on a work desk – you can stick it to any table/surface. It’s waterproof, super easy to install, and affordable.
What you’ll need
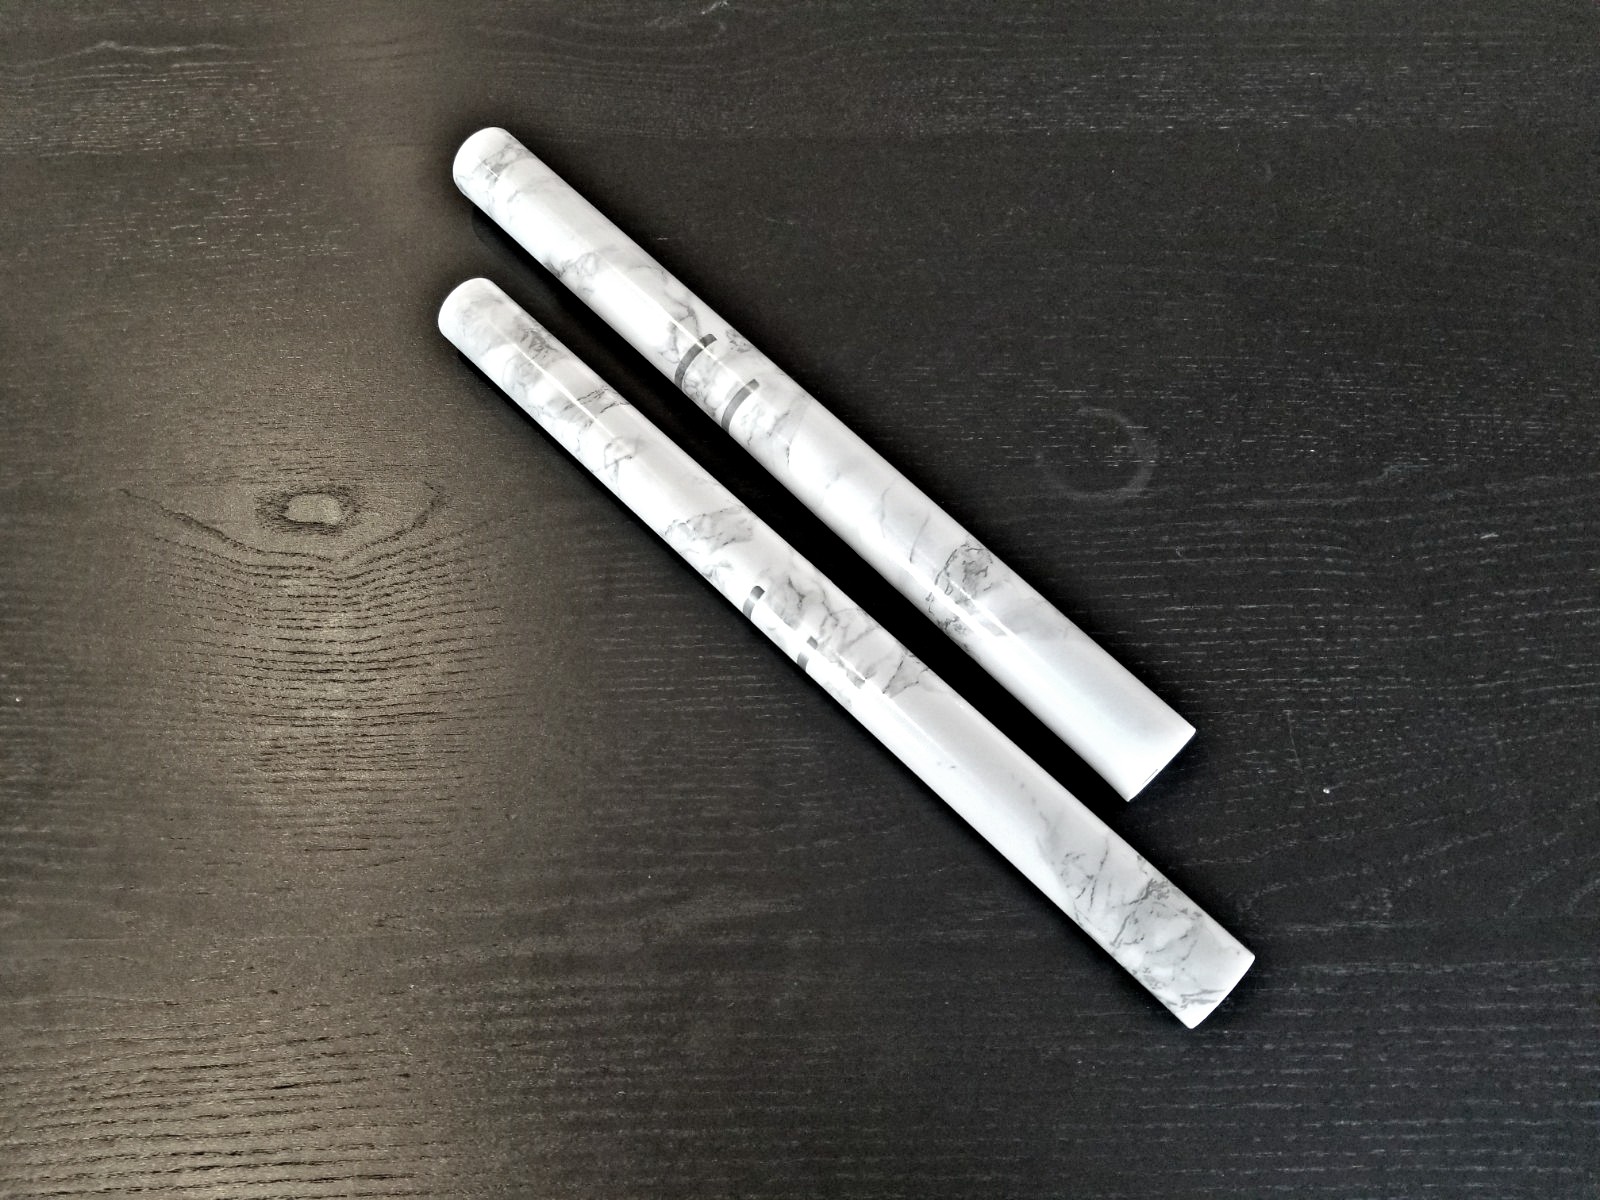
- Marble contact paper (I got mine on Amazon)
- Scissors
- Squeegee (or a thick ruler)
Step 1 – Clean your surface
The first thing you want to do is clean the surface you are sticking your marble contact paper on. If you use cleaning products, make sure everything is dry before you continue.
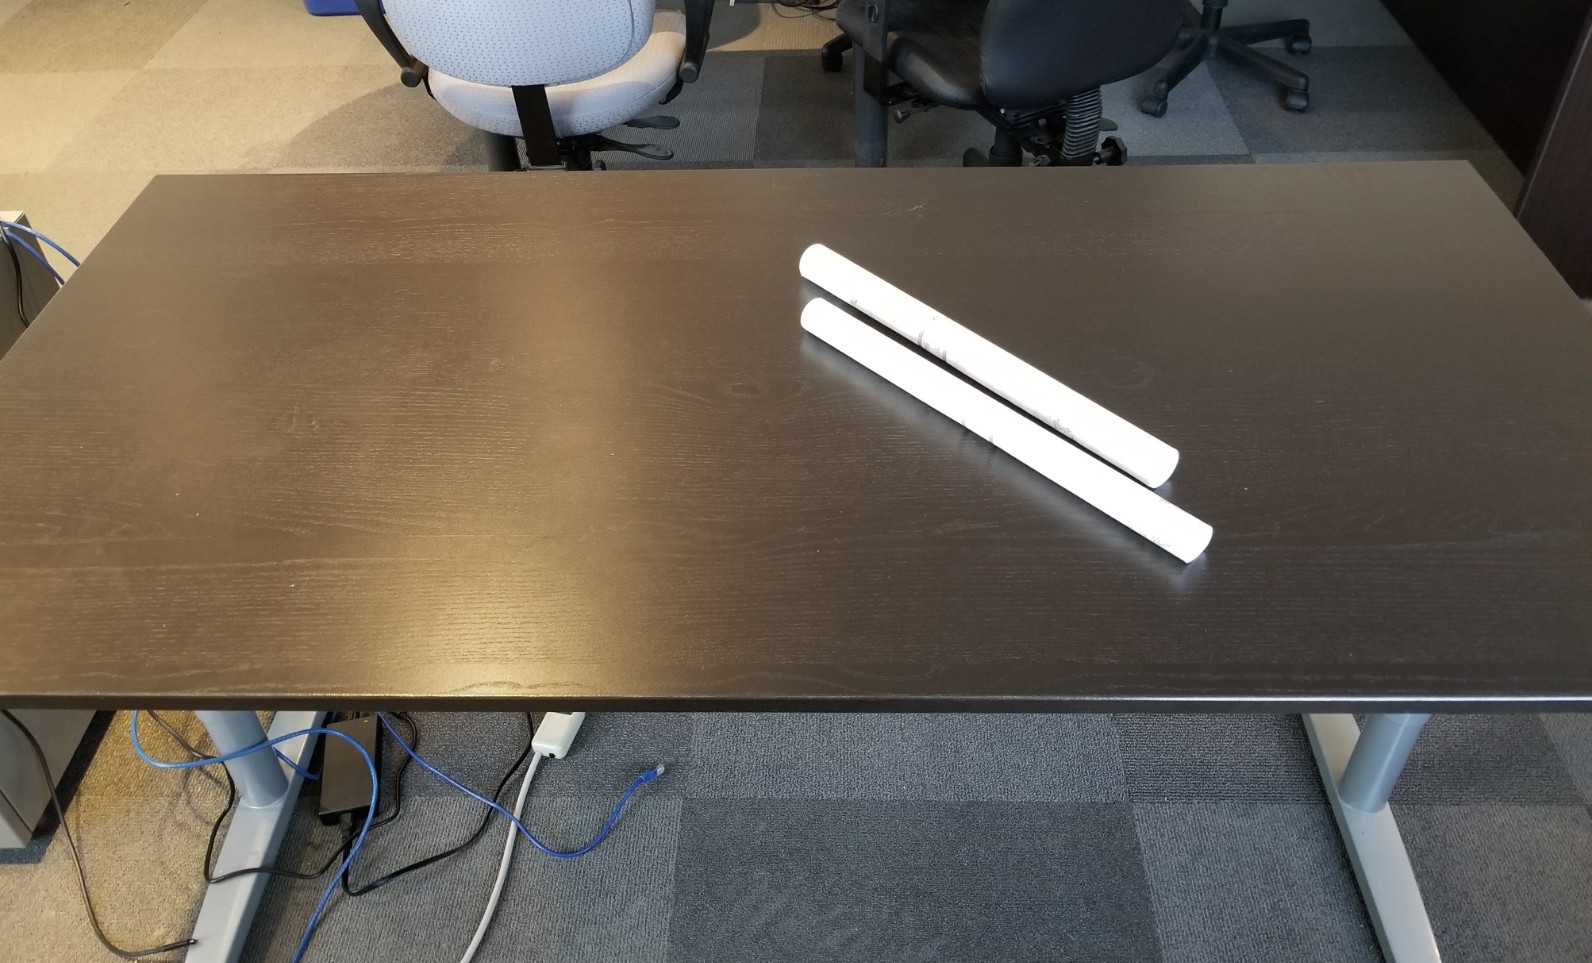
Also, make sure you’ve measured your surface properly and you have enough contact paper to cover the entire area. I had to use 2 rolls for my project.
Step 2 – Position the marble contact paper
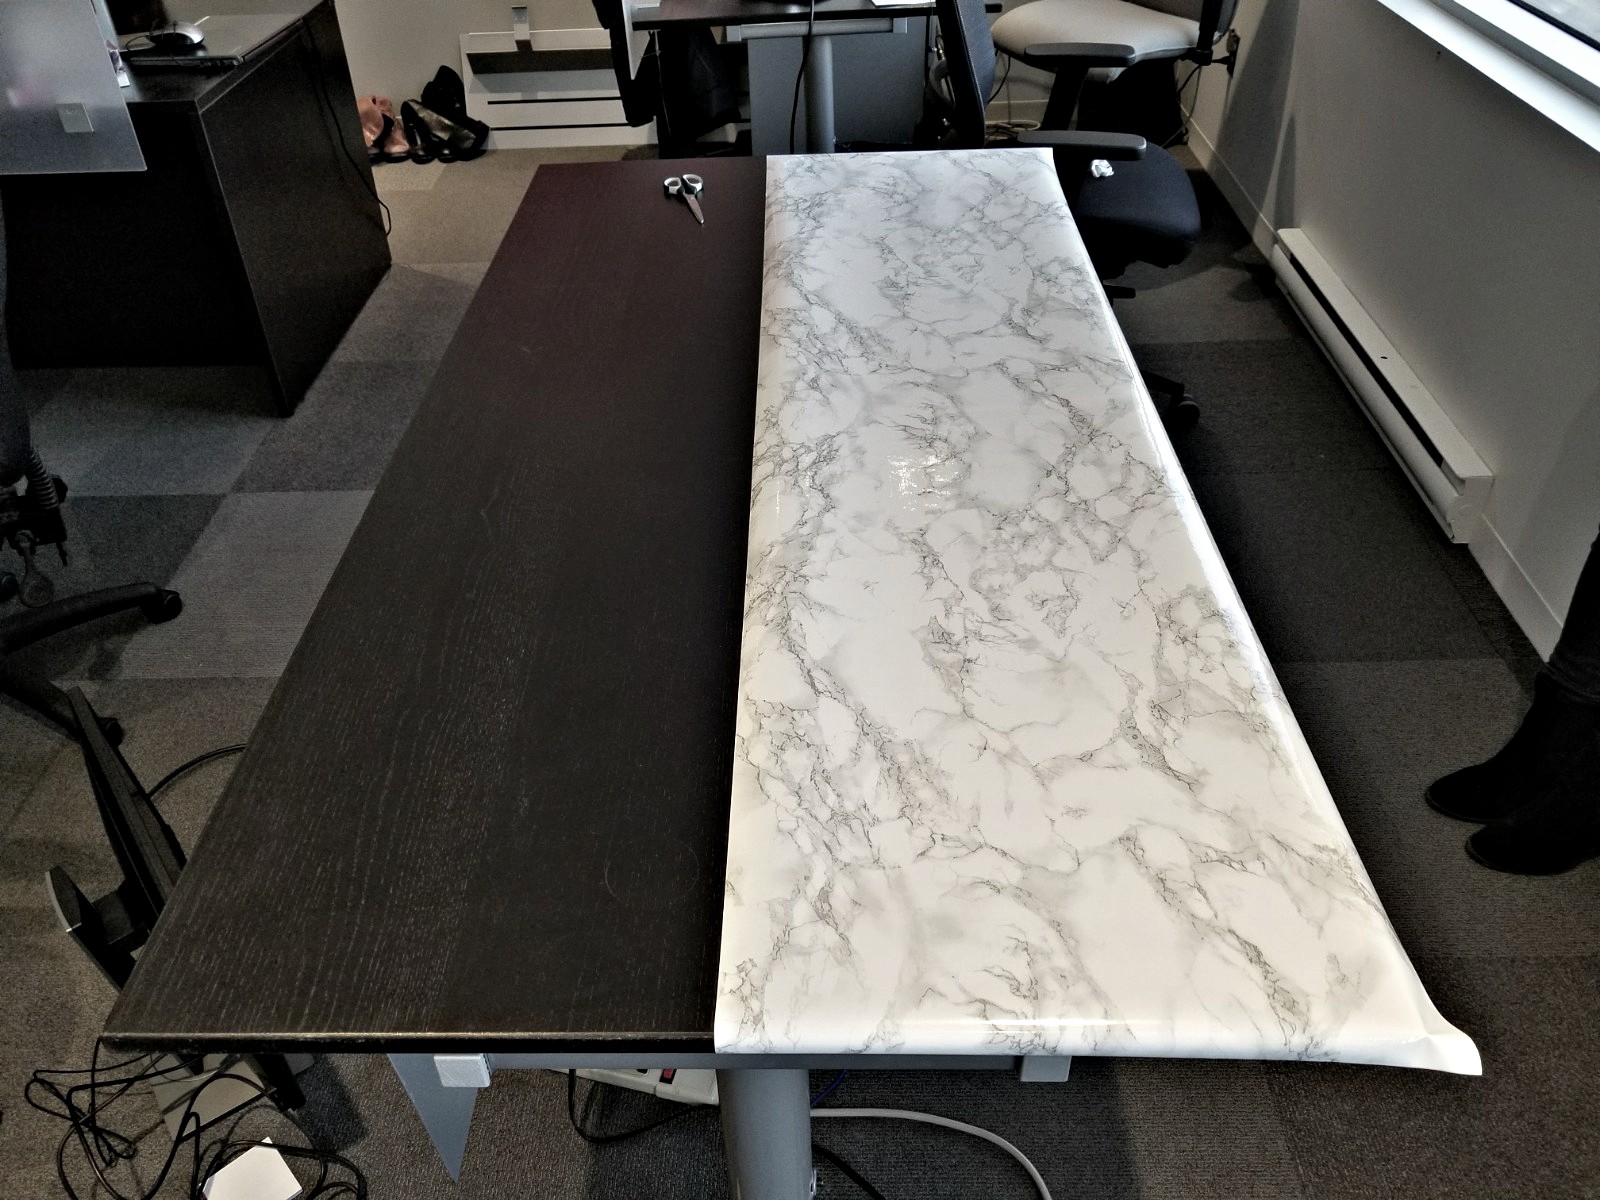
Roll out the contact paper on your table and position it so that it is straight. You need to have at least an inch or so hanging from the edges so you can easily fold them over later on.
Cut off the excess paper and only use the length you need. Who knows, you might want to use the leftover contact paper for another project.
Step 3 – Peel & stick the contact paper
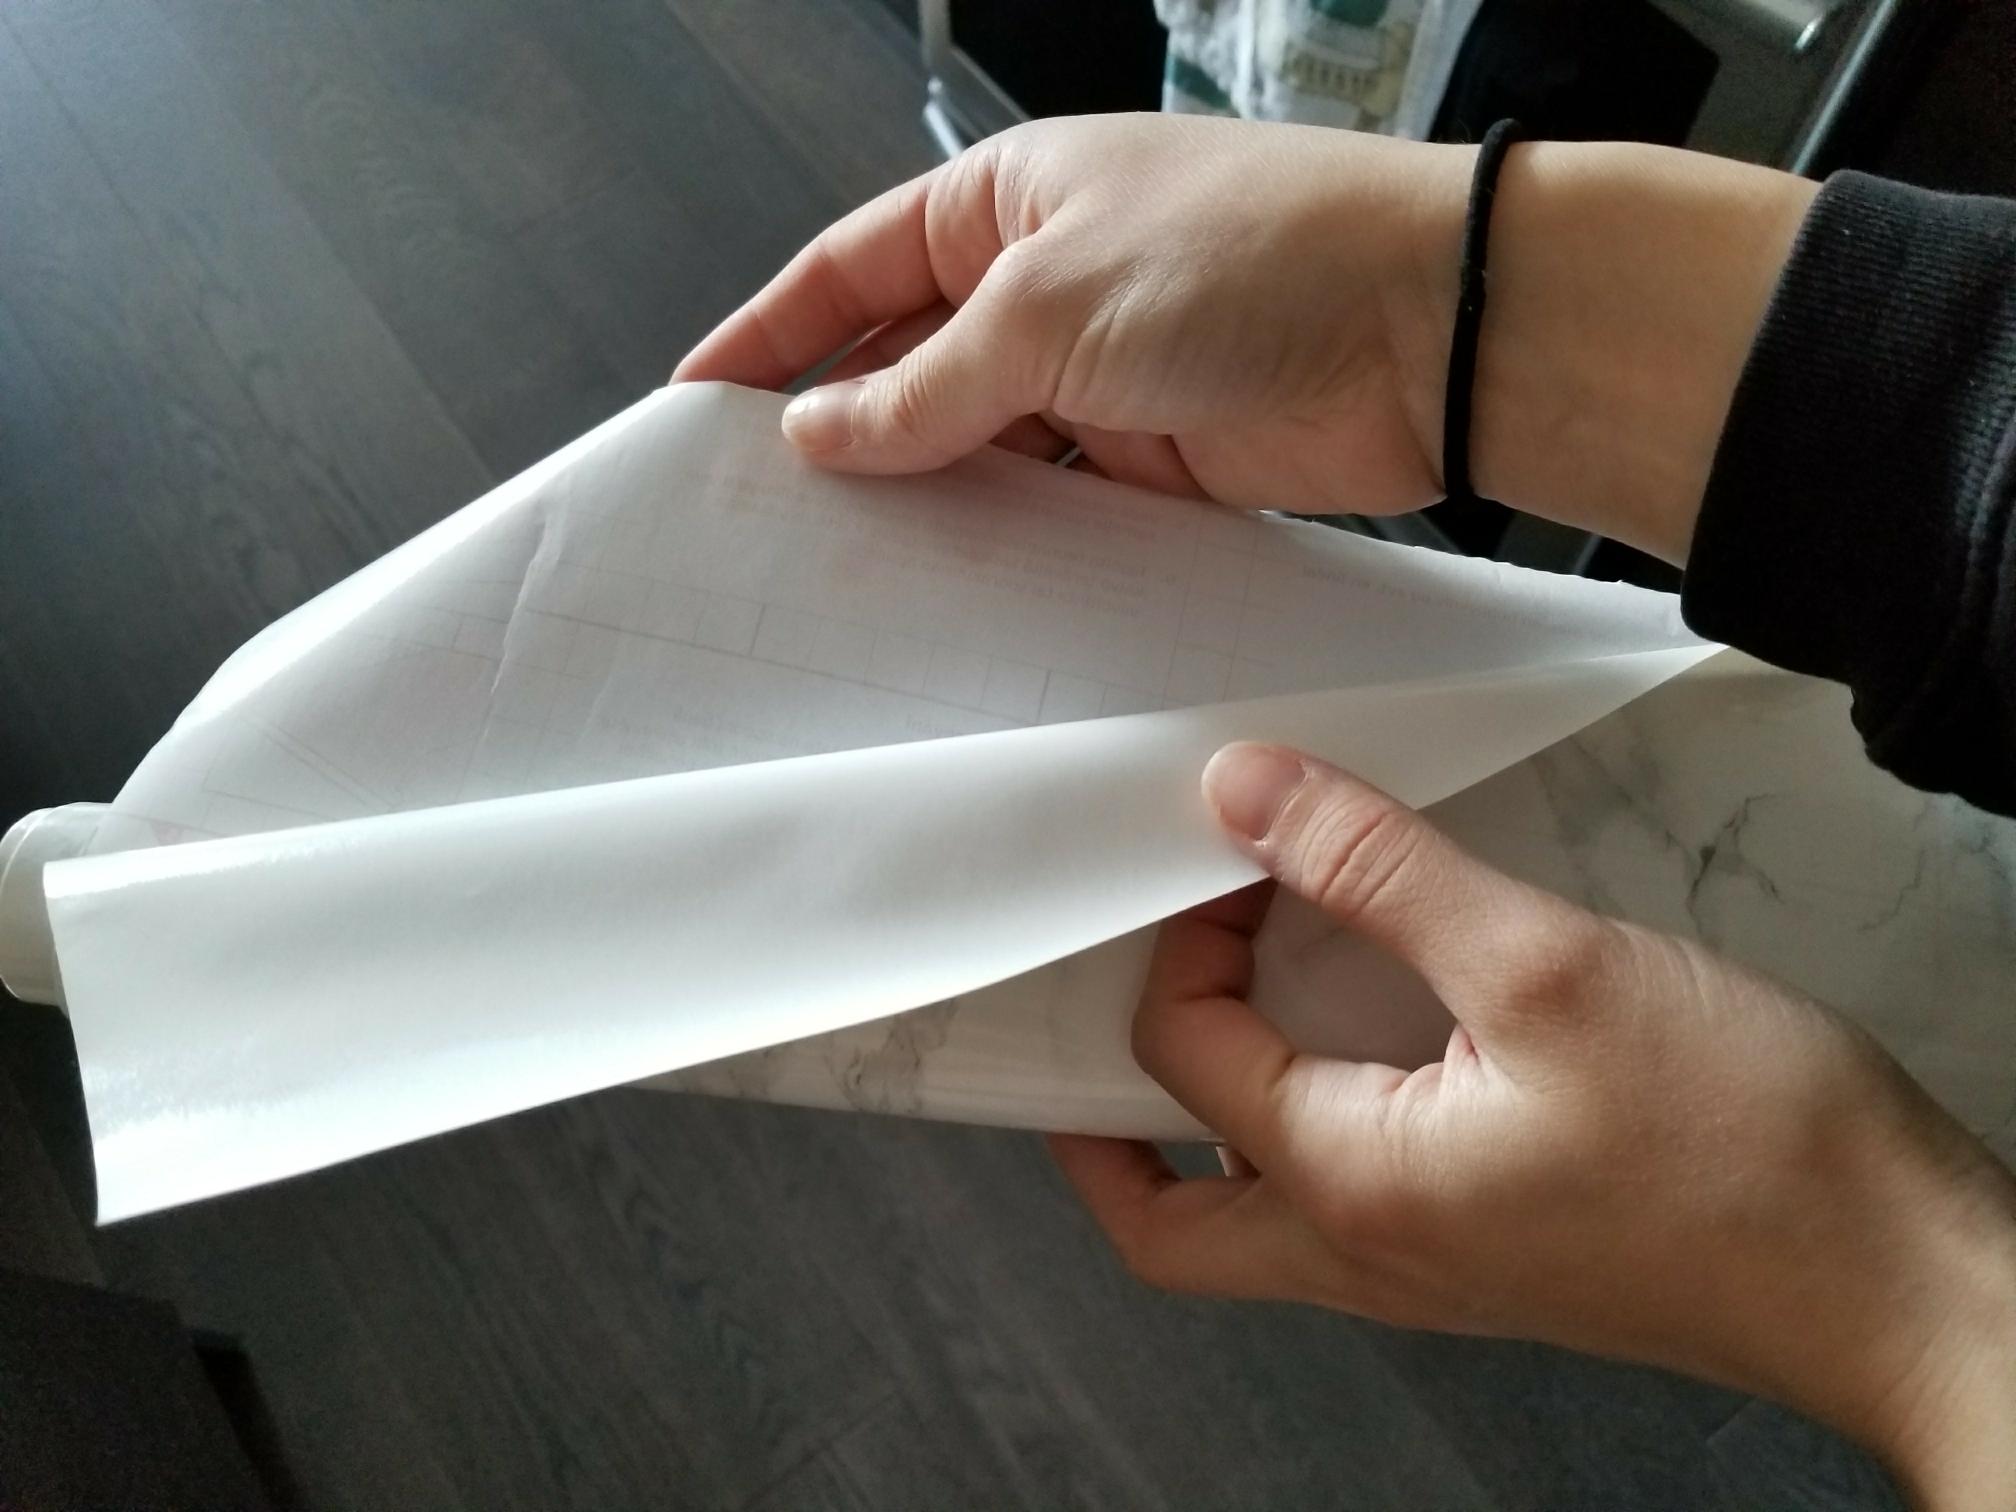
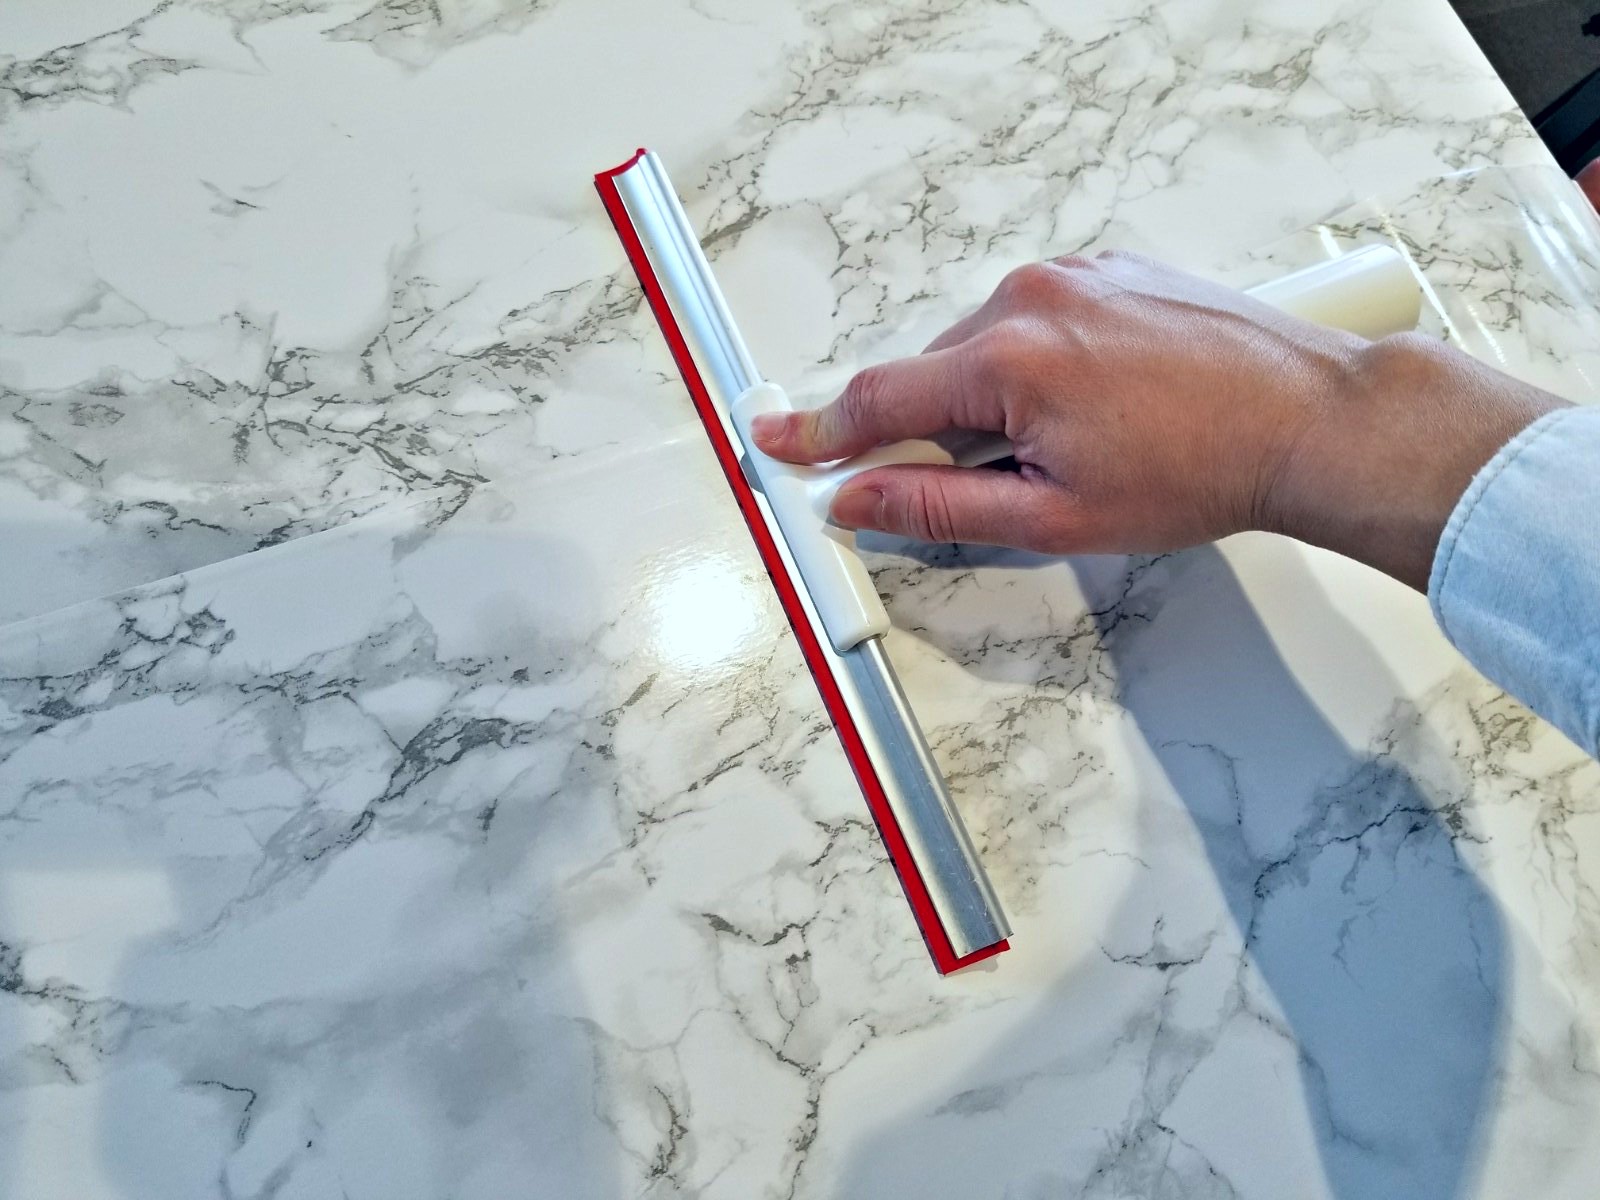
Once the marble contact paper is properly positioned, you can start peeling it on one side. Stick the exposed part to the table, and then use your squeegee (or ruler) to smooth out the rest.
You’ll have to peel and squeegee at the same time. It’s easier if you can get someone to help you so one of you slowly peels while the other one sticks.
Step 4 – Get rid of air bubbles
You need to get rid of all the air bubbles trapped under your contact paper. The squeegee will help get rid of most of them.
Go over it multiple times if you have to – you really don’t want to have pockets of air on your “brand new” table.
Step 5 – Fold all corners
Now that you’ve stuck the length of the marble contact paper to your table, you’re going to have to fold all the edges under the surface. If you don’t have enough give for it to fold all the way under, you can use clear Scotch Tape to finish the job.
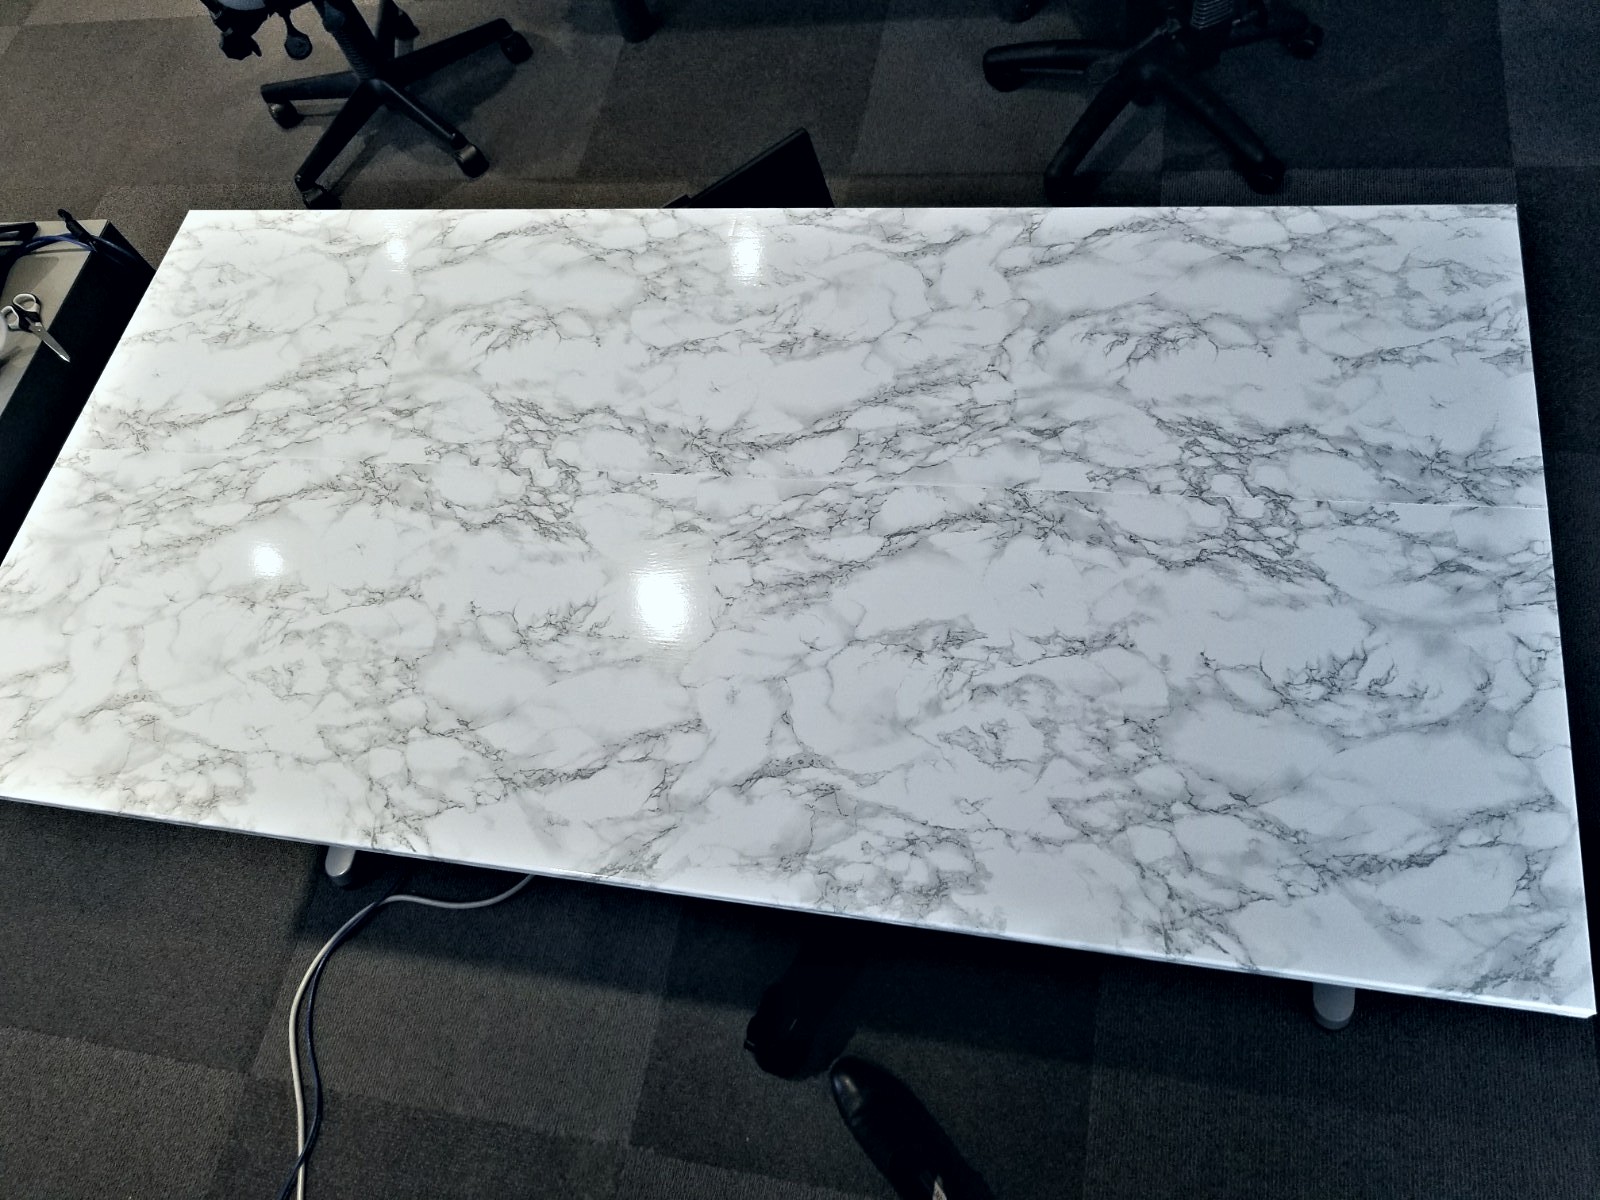
Note: If you used 2 rolls like I did, you’re going to want to stick the second one as close to the first as possible. I overlapped mine by 1 millimeter (which is barely visible) just so the dark brown color of the desk wouldn’t peek through the crack.
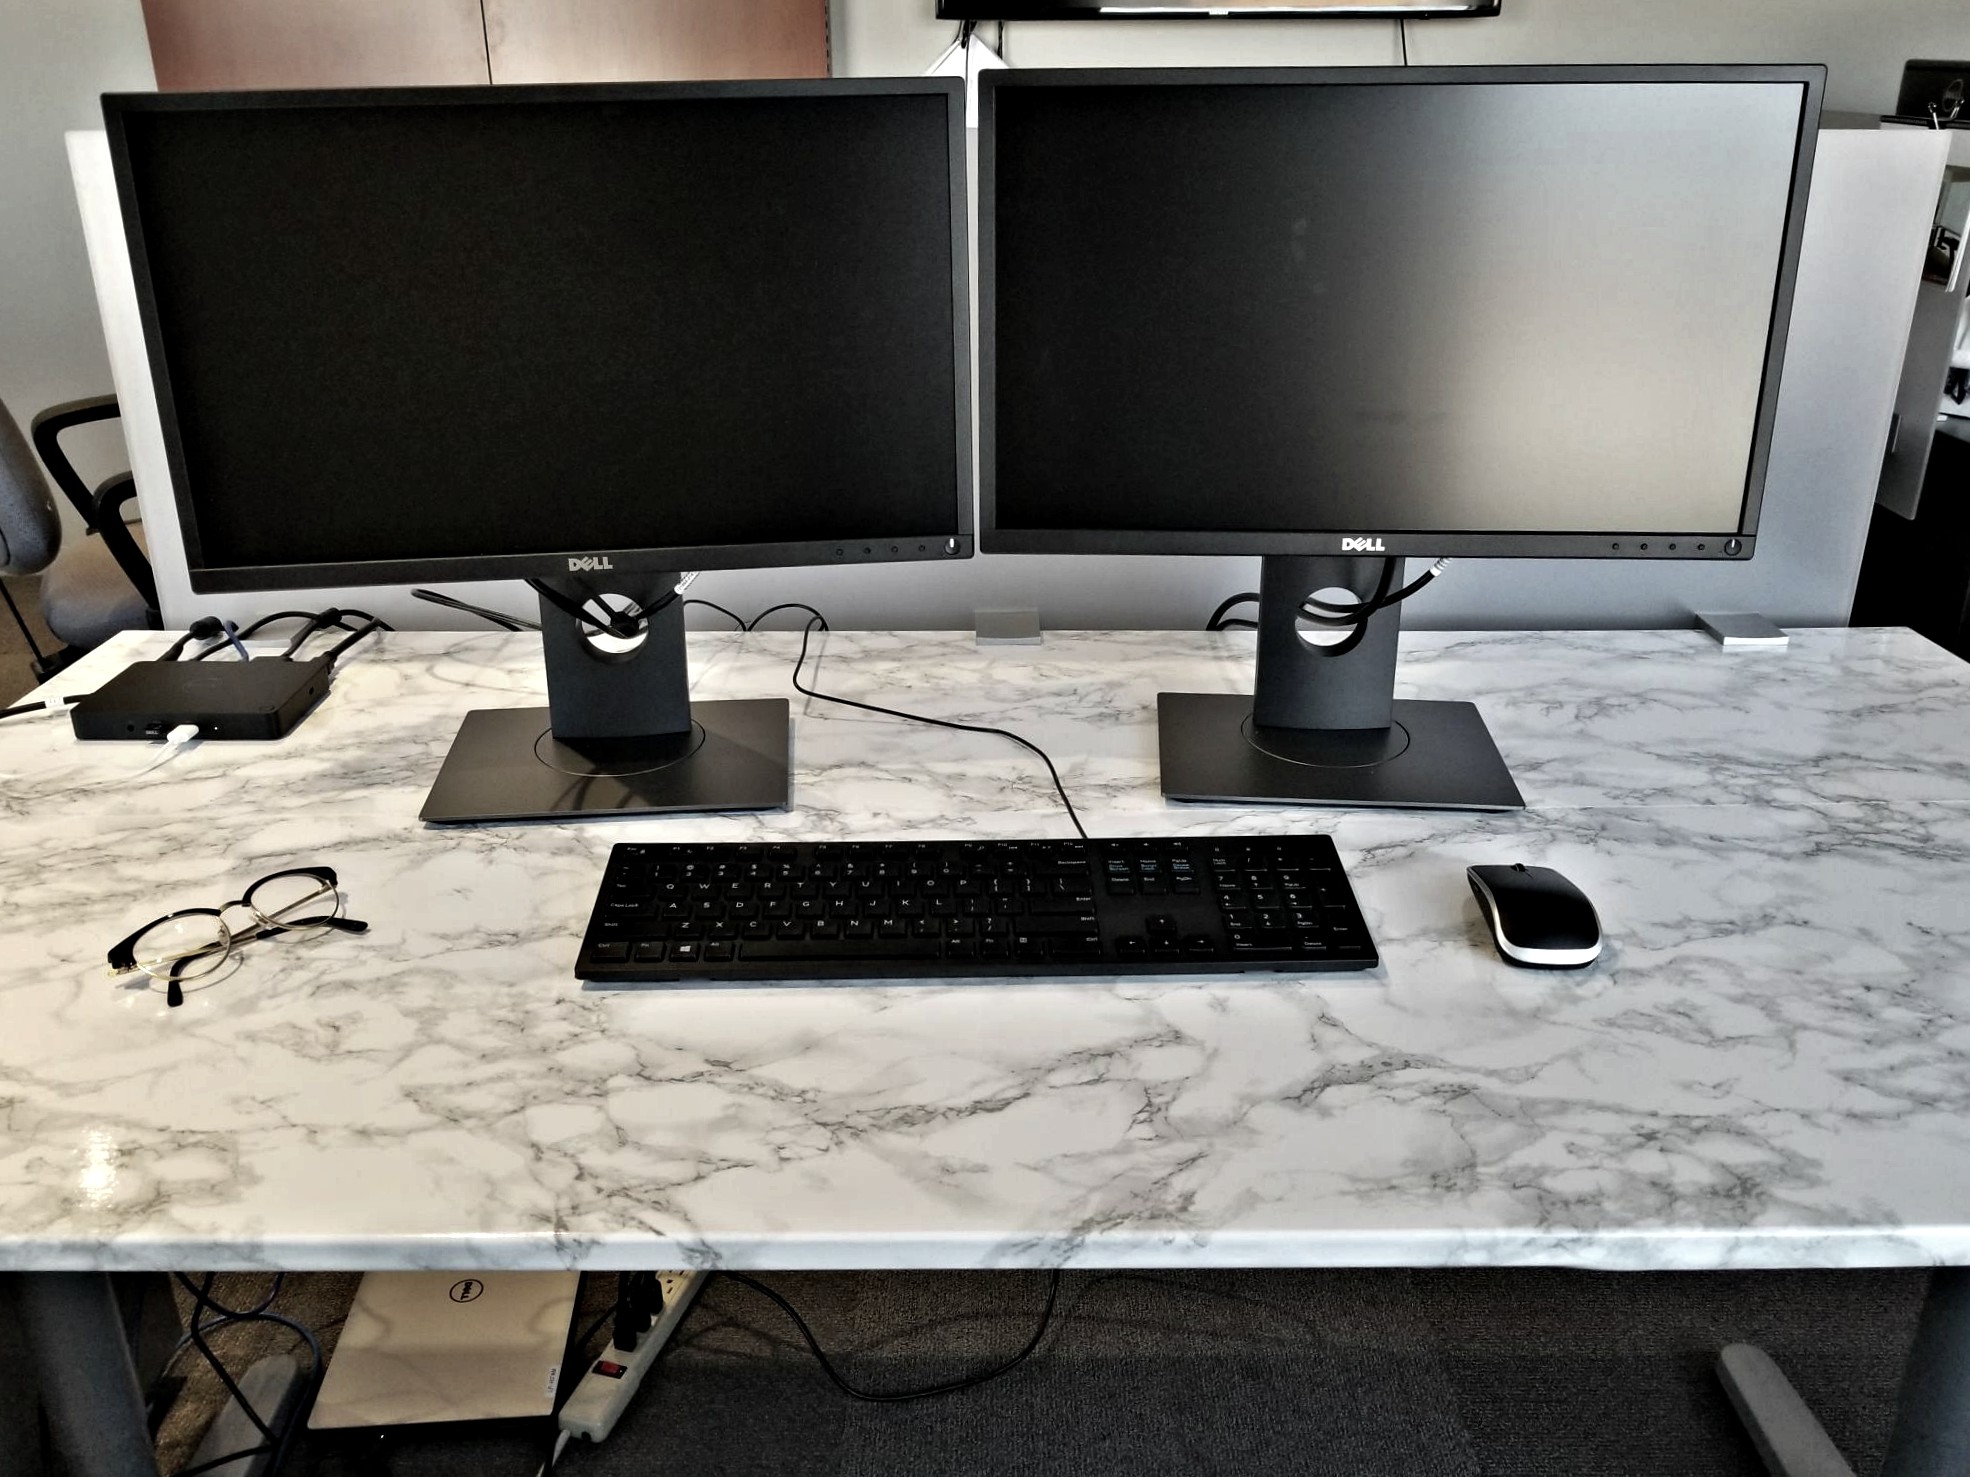
Before & after


